Test DJI Osmo Action, a competitor for the GoPro 7 black?
This post is about the DJI Osmo Action, the first actioncam from Chinese manufacturer DJI. Actually, DJI is known for its remote-controlled drones. DJI offers a wide range of solutions for hobby use as well as for professional use, e.g. in agriculture or construction. Currently, DJI offers an incredibly compact drone with the Mavic Air 2* with a built-in camera.
Technical values:
| Video | HD 240fps*/ 4K 60fps |
| Photo | 12 MP |
| Lens | 145° wide angle, fixed focal length |
| Image stabilization | electronic RockSteady |
| Wireless | 2.4Ghz / 5.8Ghz |
| Battery | 1350mAh |
| Interfaces | USB-C, WLAN |
| Exposure compensation | custom |
| Remote control | Voice commands |
Unboxing – DJI Osmo Action
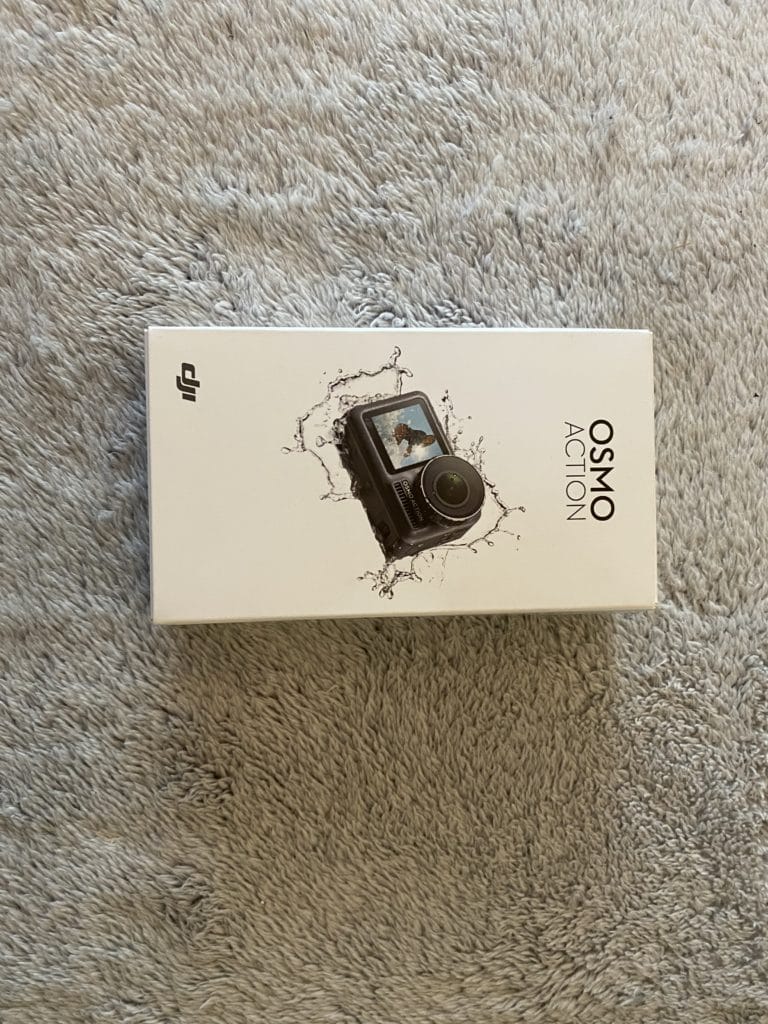
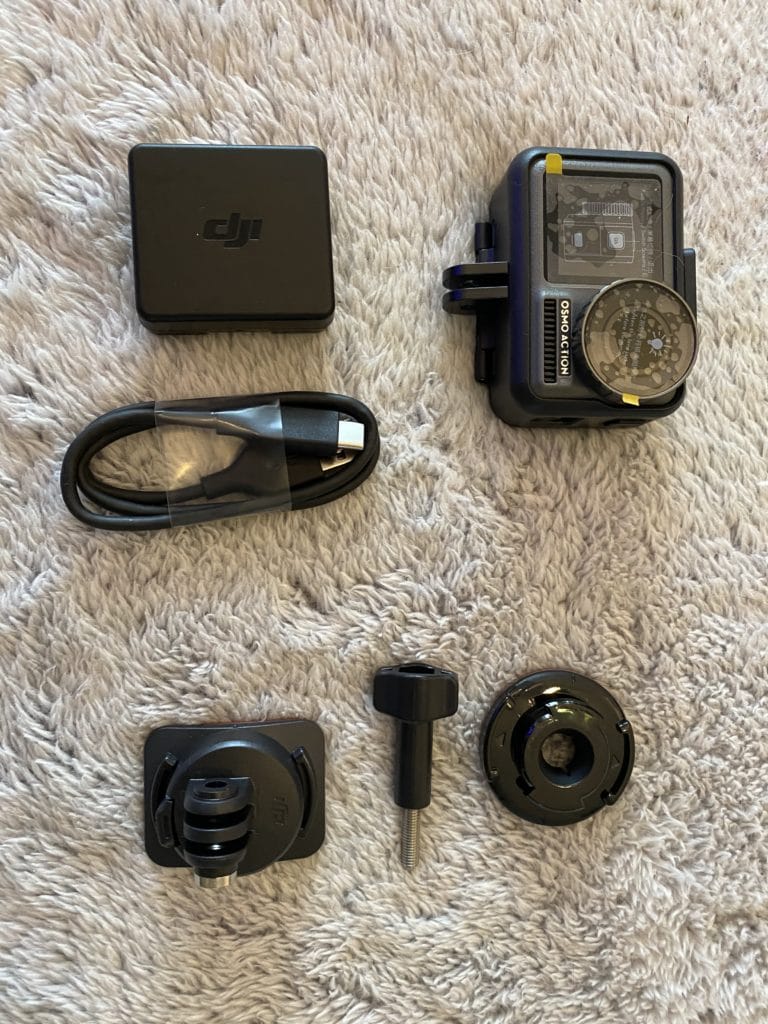
The Osmo Action comes in a simple little cardboard box. The scope of delivery is very clear. Besides the camera with the mounting frame, only a battery, two adhesive holders and a USB-C cable are included. Unfortunately, DJI has obviously taken a cue from GoPro, who are similarly stingy when it comes to features. Since I already knew this from the GoPro’s, I had bought a big “bag” of GoPro adapters* some time ago. They cost about 20€ again, but then you probably don’t need anything else in that direction. Unfortunately, there is no printed user manual. If you install the DJI Mimo app you have everything you need to know about the app. Here are also some videos on various topics. But you can download the manual directly from DJI. Download
Insert battery and memory card
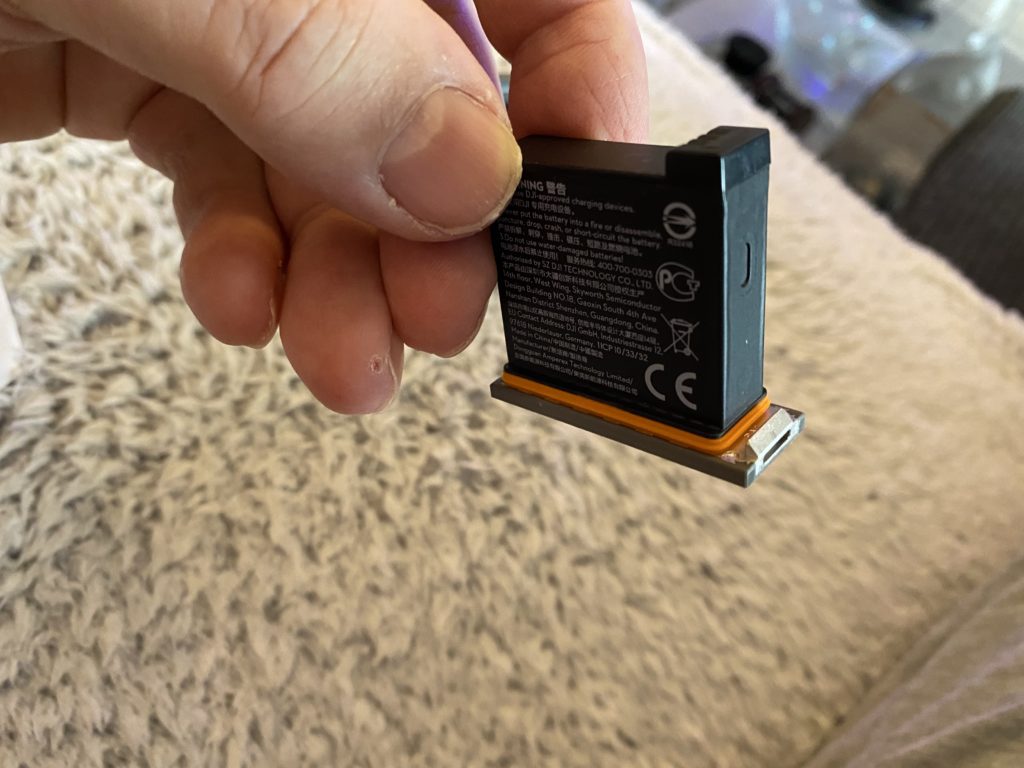
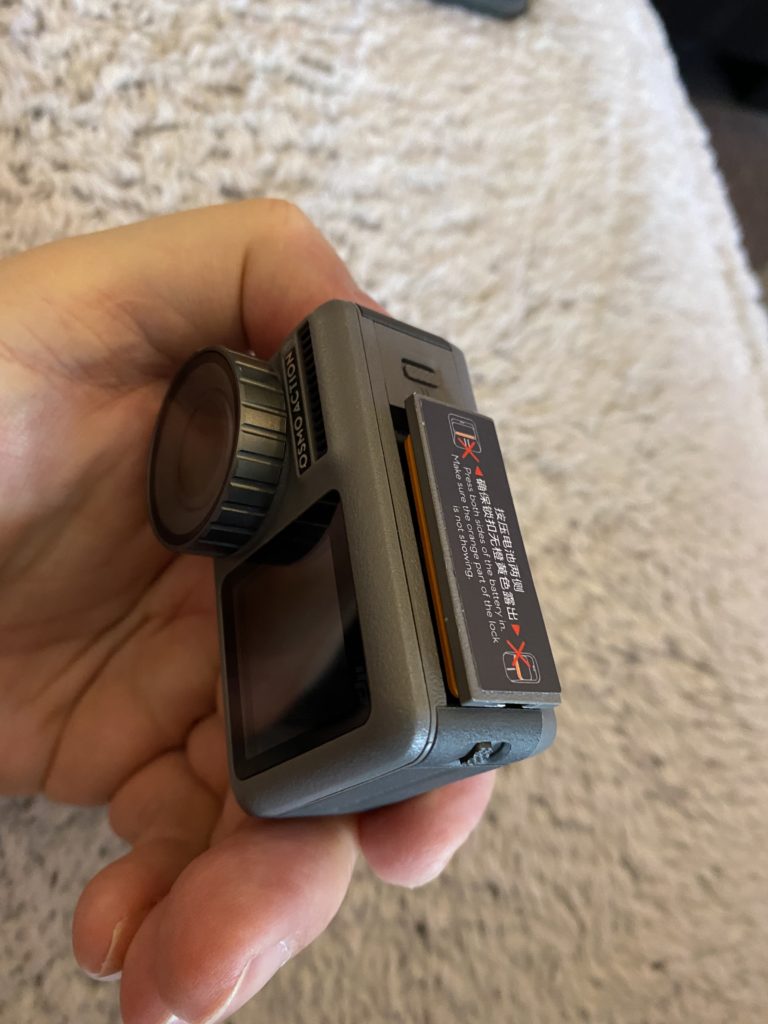
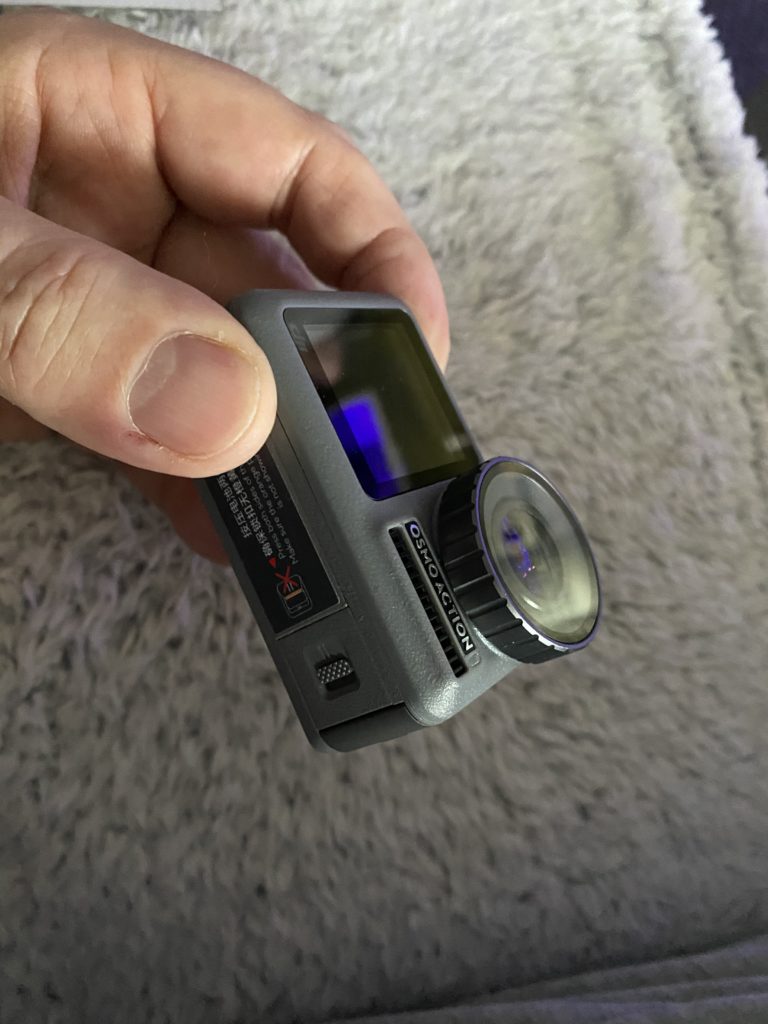
The thing about the DJI Osmo Action is that there is no battery cover. The battery itself has a base with a seal. When inserting the battery, it is locked on two sides. The battery compartment is then sealed watertight.
There is a flap on the right side for inserting the Micro SD card. The USB-C port is located behind the flap next to the slot for the micro SD card. At the top of the flap there is a plate with a seal with which everything is closed watertight.
Lens and lens cap
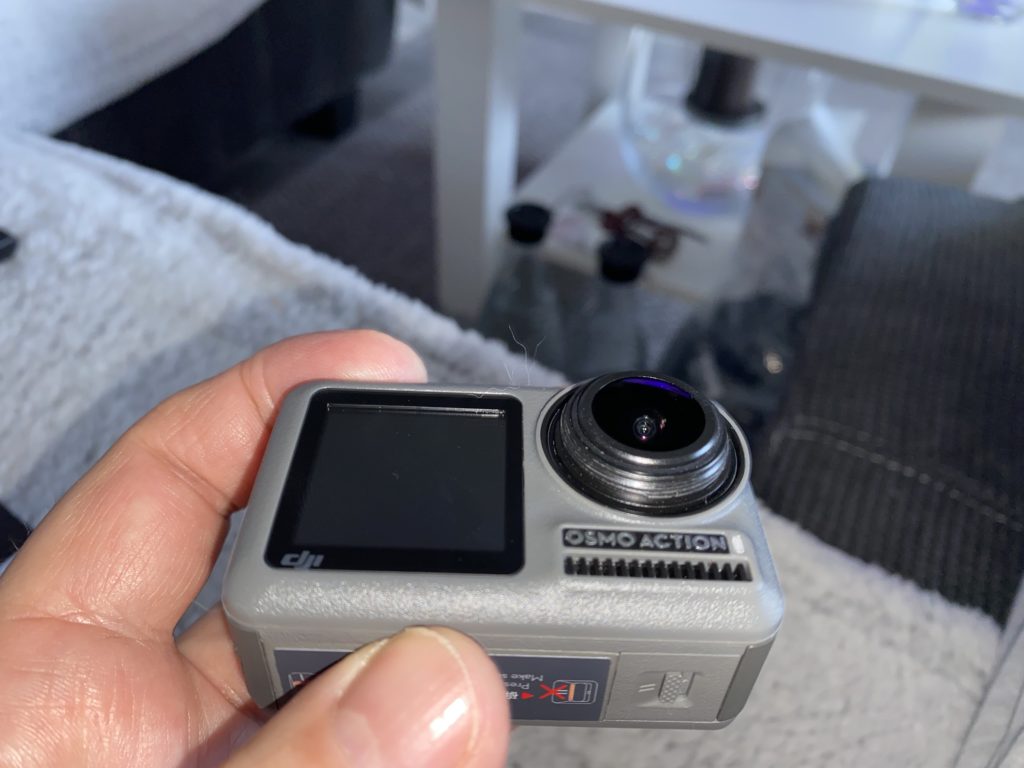
The Osmo Action comes standard with a lens cover screwed onto the lens. Behind the thread on the lens there is a seal, so that after screwing on the lens cover the lens is sealed waterproof.
This simple thread on the lens also makes it very easy to use a wide variety of filters. For example, if you want to film your ski run, a UV filter* is a good idea. But even if you want to dive you need an extra red or magenta Filter* if the underwater setting of the DJI Osmo Action is not enough.
Underwater photography with DJI Osmo Action
Like a GoPro action camera, the Osmo Action is waterproof “out of the box” up to 11m. This is more than enough for a snorkeling trip. Usually you dive a maximum of 5m deep when snorkeling anyway.
For deeper dives with appropriate equipment, you need an additional housing that can withstand the corresponding water depth. I wrote quite a bit about it in this post.
Tip: In the right menu of the exposure settings, you can select the underwater AWB mode via the item white balance. That should be enough for normal snorkeling.
Front display of the Osmo Action
For those who like to take selfies, the Osmo Action has the advantage of a second small screen on the front of the camera. This is quite sufficient to select the image section correctly, e.g. with a selfie stick.
Activating the front display
There are three ways to activate the front display
- tap twice on the main display with two fingers
- Voice command “Screen switch
- Press and hold the QS button for two seconds
Operation of the DJI Osmo Action
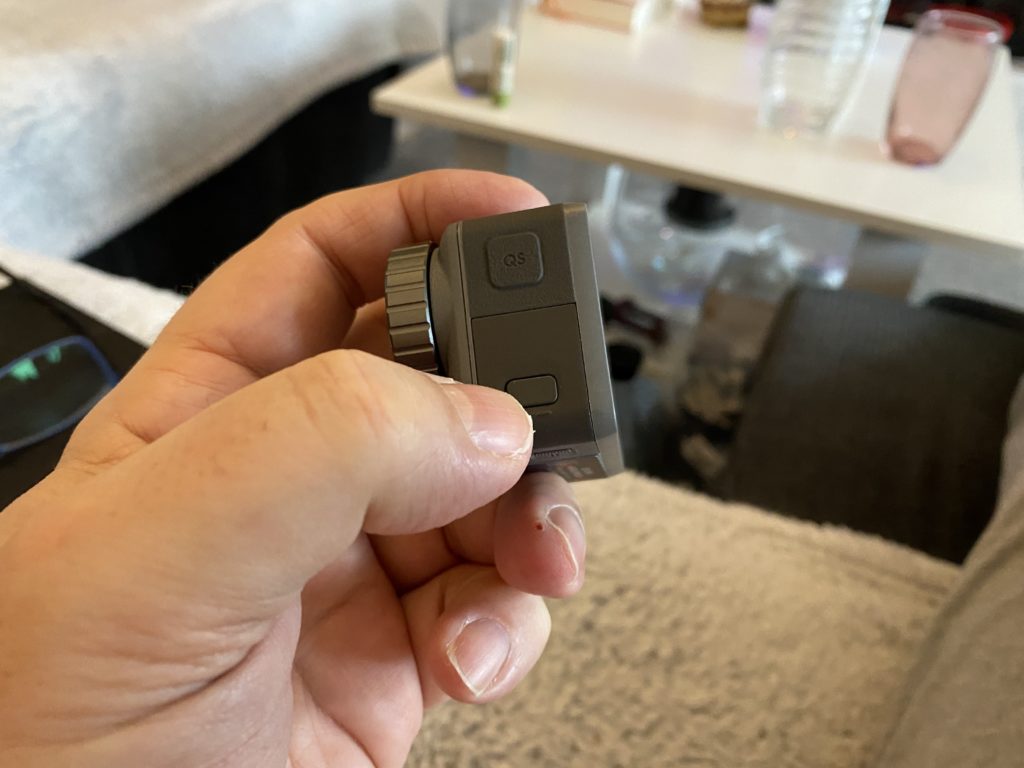
Like other action cams, the Osmo Action has few physical controls. You have a total of three control buttons. On the top the on/off switch and the photo/video shutter release. On the left side there is the QS button. This allows you to quickly switch recording modes such as video, photo or loop.
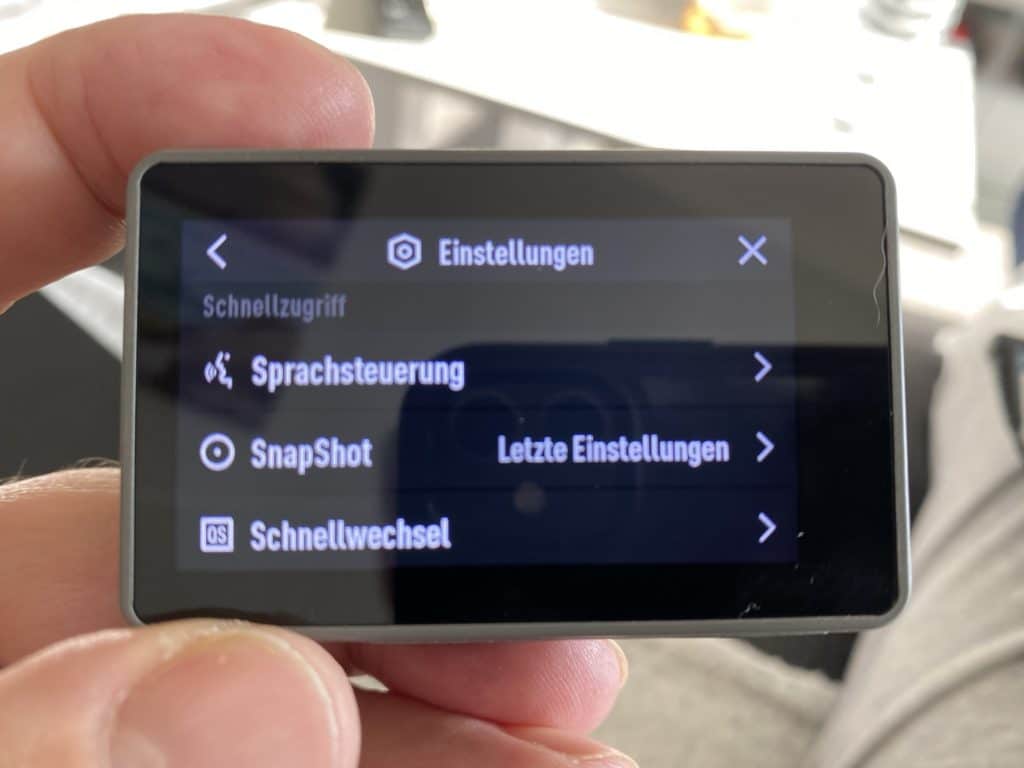
All other camera settings can be accessed via the touchscreen. The touchscreen itself is very responsive and this makes the camera easy to use.
Operation Touchscreen:
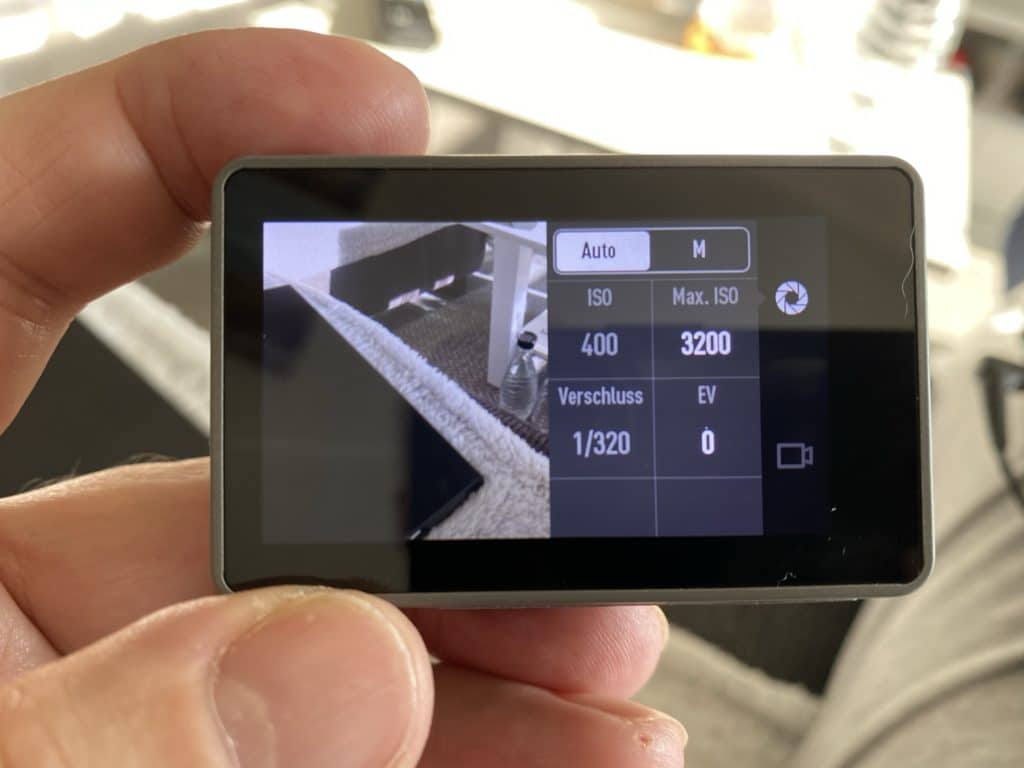
- Swipe right, exposure settings for photo and video, and video format selection.
- Swipe left, playback the captured photos and videos
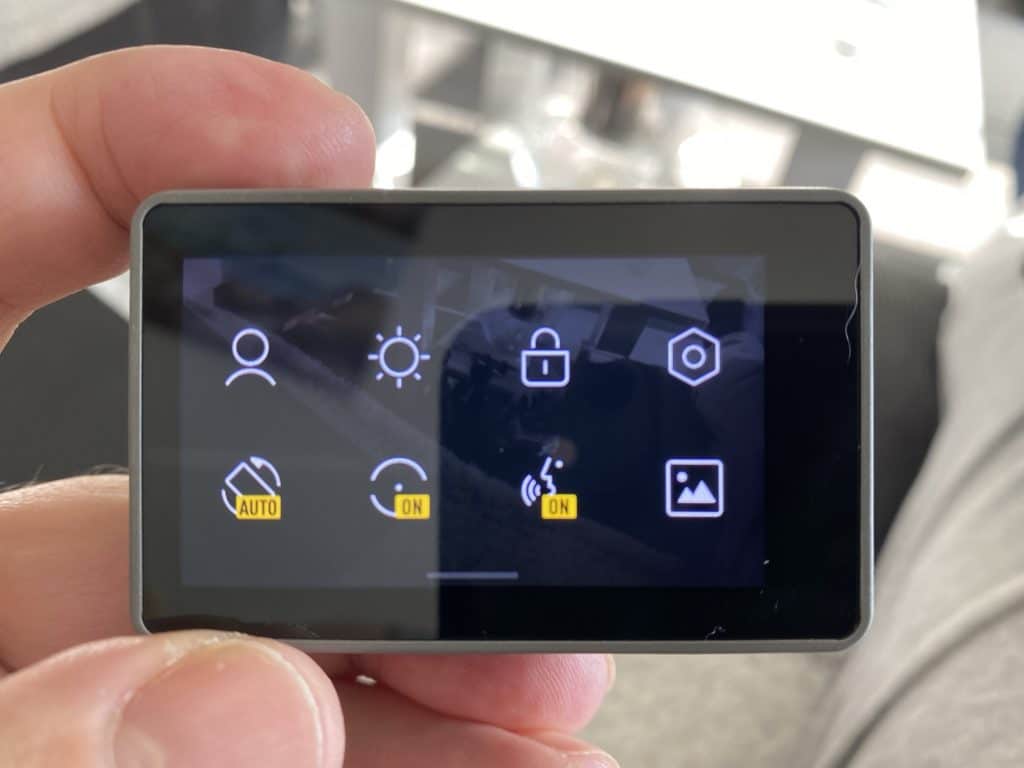
- Swipe from the top, all camera settings such as user profiles, touchscreen brightness, size and orientation, basic camera setting, activation and deactivation of various functions such as voice control.
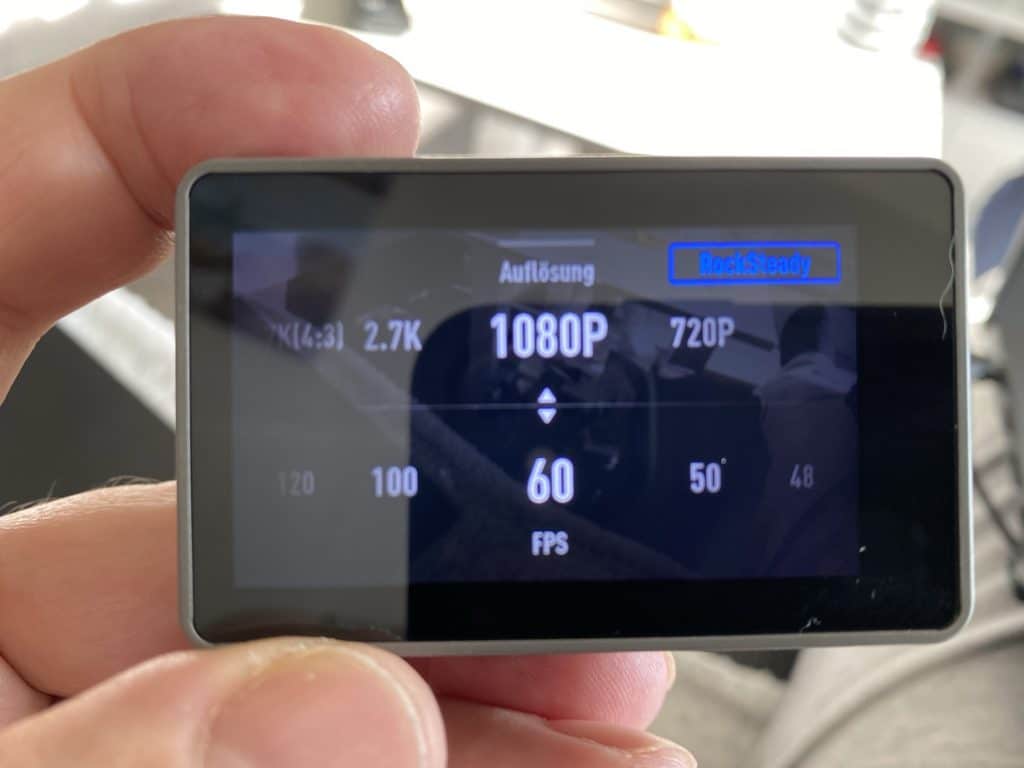
- Swipe from the bottom, quick setting of video recording such as video resolution and frames per second. RockSteady video stabilization is not available in all modes and is either shown or hidden in the top right corner
Voice control
The Osmo Action, like GoPro action cams for example, offers voice control. You can use the voice commands in either English or Chinese. It is not possible to customize the voice commands.
Voice commands:
- Start Recording
- Stop Recording
- Take Photo
- Screen Switch
- Shut Down
I found that you have to speak loud and clear for the camera to understand the voice command. When you’re outdoors, you may have to yell at the camera if it’s very loud. Basically, the voice control works quite well and you also get a short beep when the camera has recognized and executed the voice command.
QS Button
With the QS button on the left side of the camera, you can easily switch between different shooting modes. You can activate the following shooting modes for the quick switch menu:
- Video
- HDR video
- Slow Motion
- Time lapse
- Hyperlapse
- Loop recording
- Photo
- Photo serial recording
- Photo exposure series
- Photo Interval Shot
Here it is of course useful to activate only those functions that you really use frequently.
Operation via smartphone or tablet
In addition to the control options on the camera itself or the voice control, you can also control the Osmo Action via a software app.
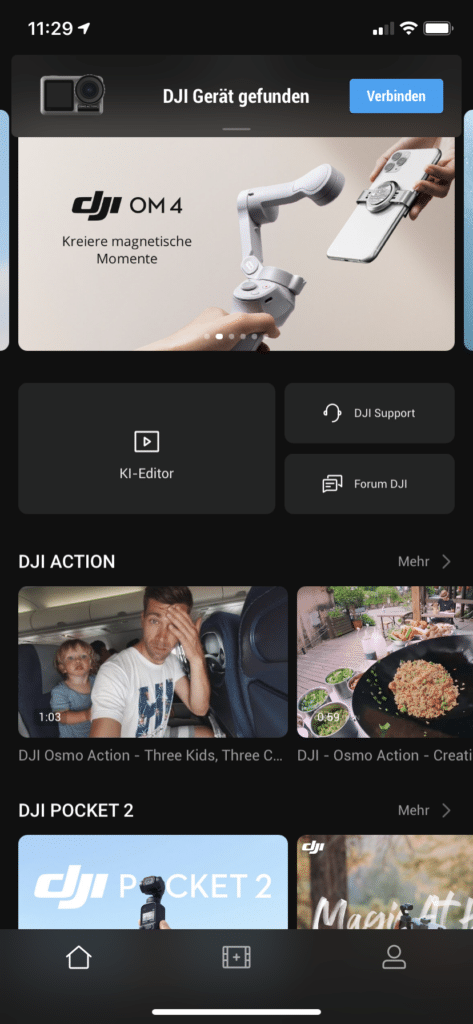
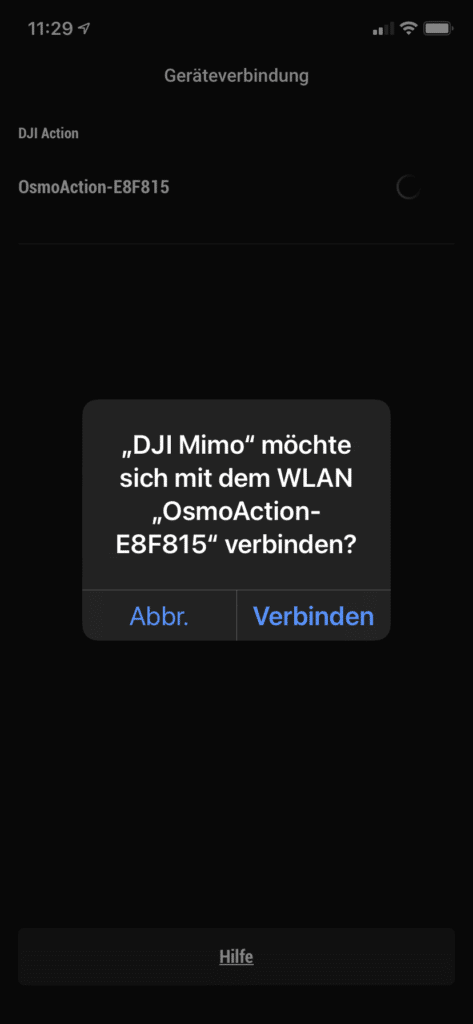
The software app is called DJI MIMO and is available for both Android and iOS in the respective appstore. The DJI Osmo Action has Wi-Fi enabled by default. When you start the app, the camera is immediately recognized and you can connect directly to its Wi-Fi. With other action cams, it’s not quite as easy. You first have to connect your smartphone to the Wi-Fi and only then can the app connect to the camera. Therefore very good!
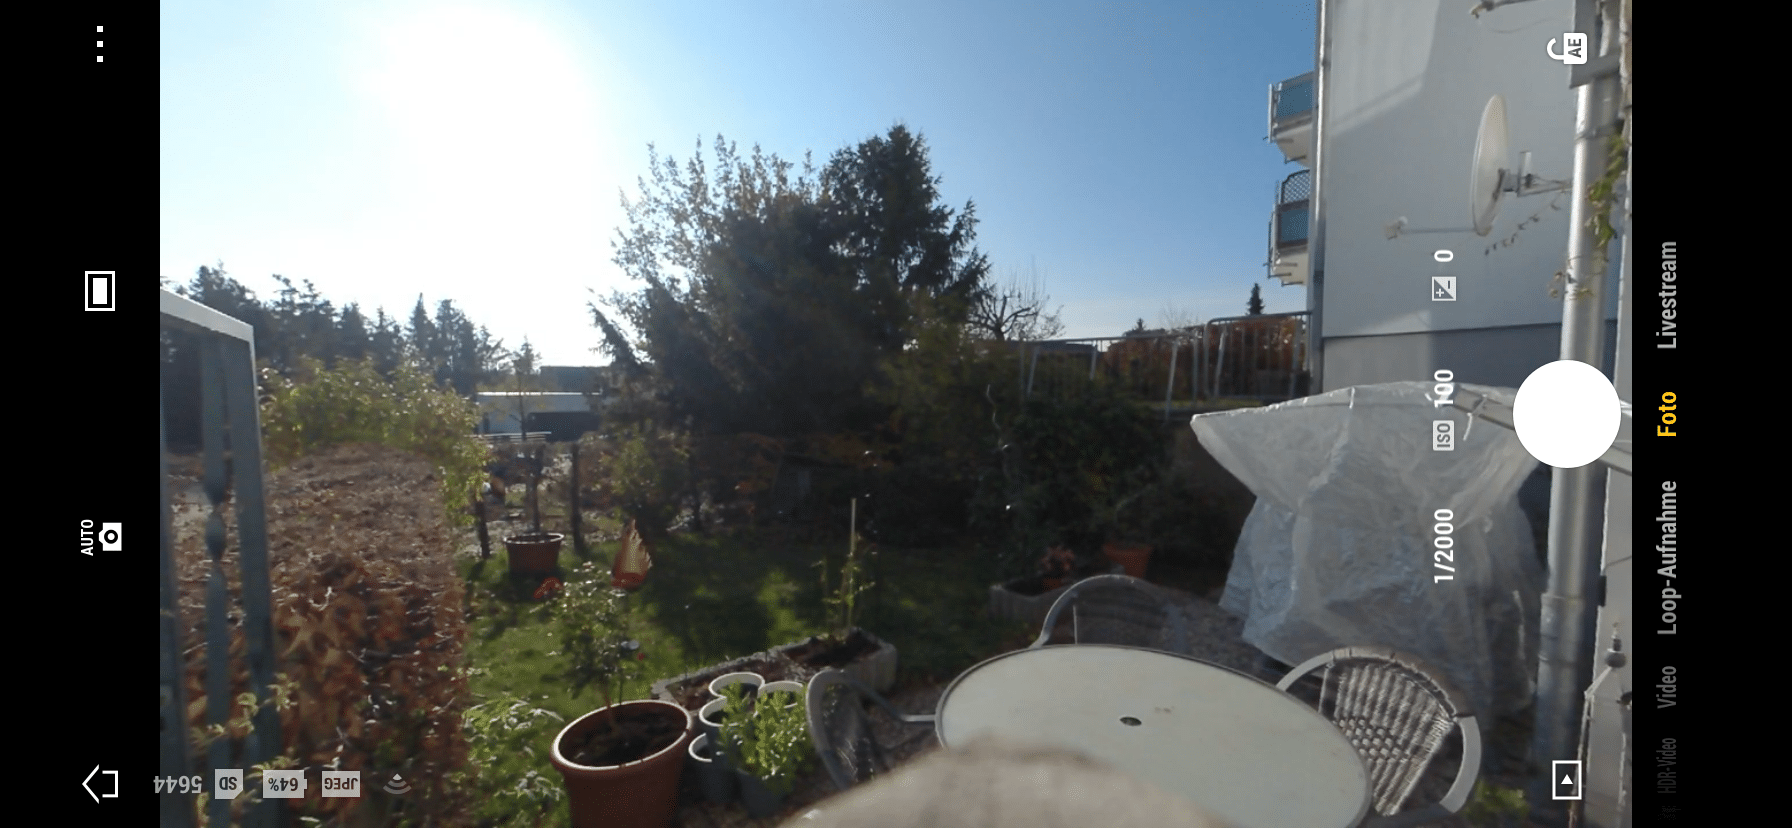
With the app you then have the live image from the camera, which is very helpful especially if you have mounted it as a helmet camera. I noticed very positively that there is almost no delay between to the live image. Possibly this is because the Osmo Action can set up a 5Ghz WLAN, as can my iPhone. This of course allows much higher transmission rates than with 2.4Ghz WLAN. Via the photo or video menu you can reach all camera functions as directly on the camera.
DJI doesn’t mess around with the software app, it works very well and offers a lot of features. I also like the fact that when you connect the app to the camera, it offers directly available firmware updates for installation. This is very user friendly, top!
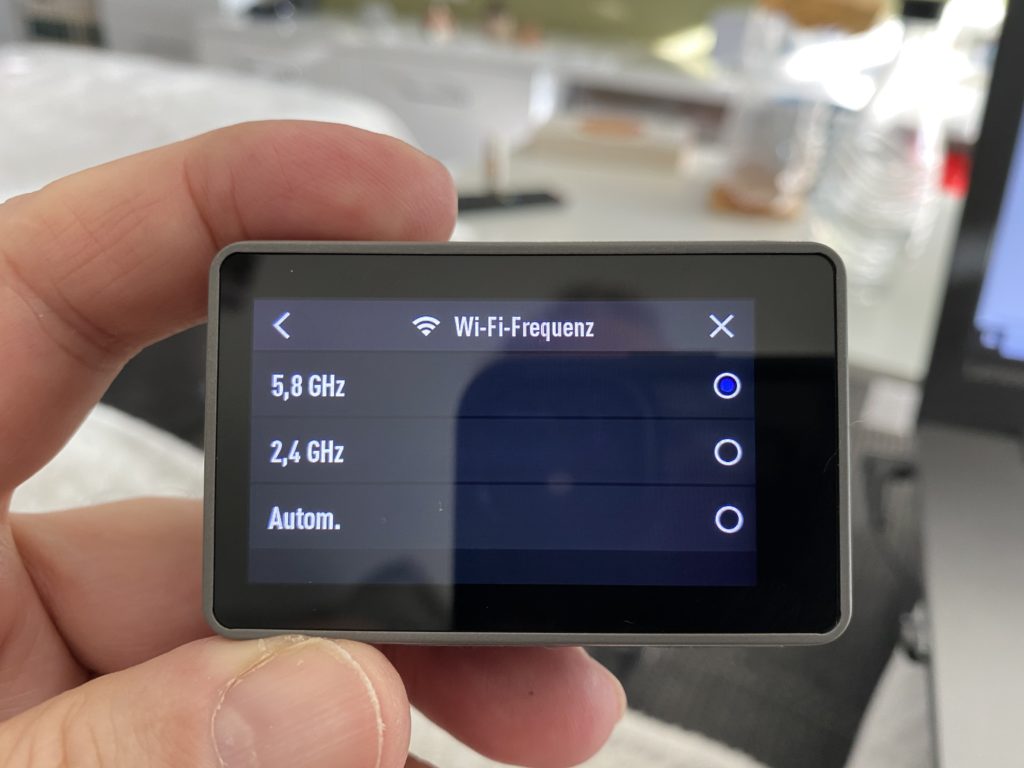
However, I also noticed something negative. I’ve had disconnections on and off. Whether this was due to my test playing, where I also had a little break every now and then, I can’t say. Basically, though, the connection should remain until I disconnect it. However, I found out that the Osmo Action automatically selects the wifi frequency by default. This means that it independently changes the frequency between 2.4Ghz and 5.8Ghz. That’s where the problem lies, because once I had a frequency permanently selected, there were no more disconnects either!
Tip: Select a fixed WLAN frequency! Depending on what your smartphone supports, select 2.4Ghz or 5.8Ghz.
Test of the photo and video quality of the DJI Osmo Action
Now we come to the most important point of my test. The photo and video quality. I had high expectations for the DJI Osmo Action, as its claim is to be a direct competitor to the GoPro 7 black. From the price and from the equipment it fits already once.
Photo and video stabilization RockSteady by DJI
A well working image stabilization is an important function for an actioncam to get smooth video. RockSteady is an electronic image stabilization function developed by DJI. Although an electronic image stabilization is inferior to an optical one, RockSteady works surprisingly well and you can get really smooth videos with it.
- ZWEI BILDSCHIRME: Egal ob spannende Action-Shots...
- ROCKSTEADY: RockSteady kombiniert elektronische...
- DYNAMISCHE DETAILS MIT HDR-Video: HDR-Video sorgt...
- 11 M WASSERDICHT: Dank wasserdichter Versiegelung...
- PACKUNGSINHALT: Osmo Action, Flache...
Test of the photo quality
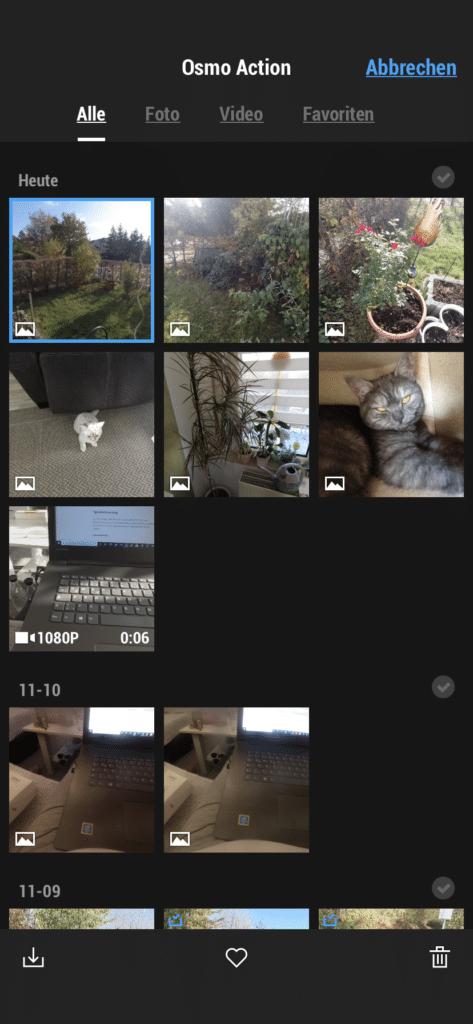
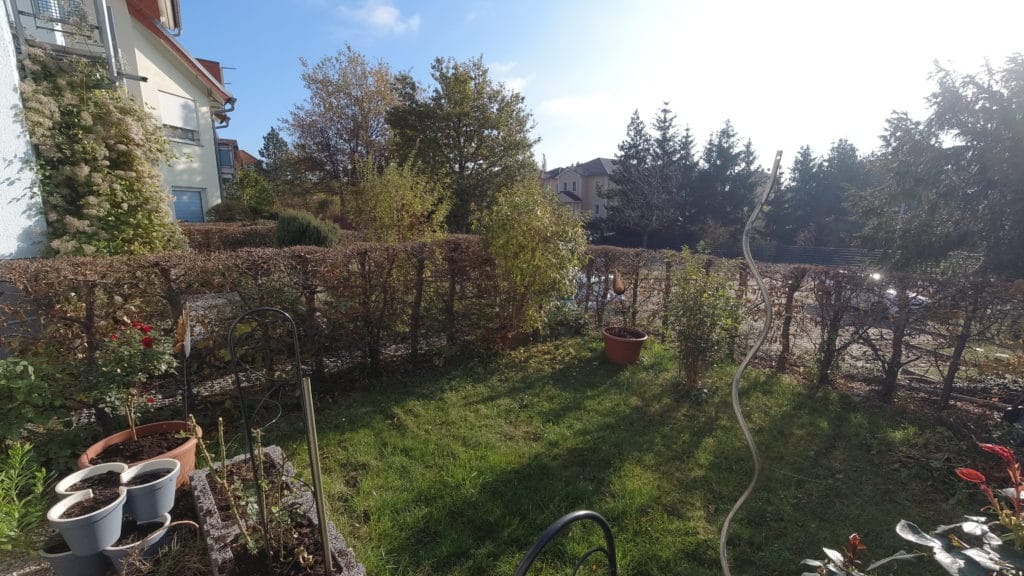
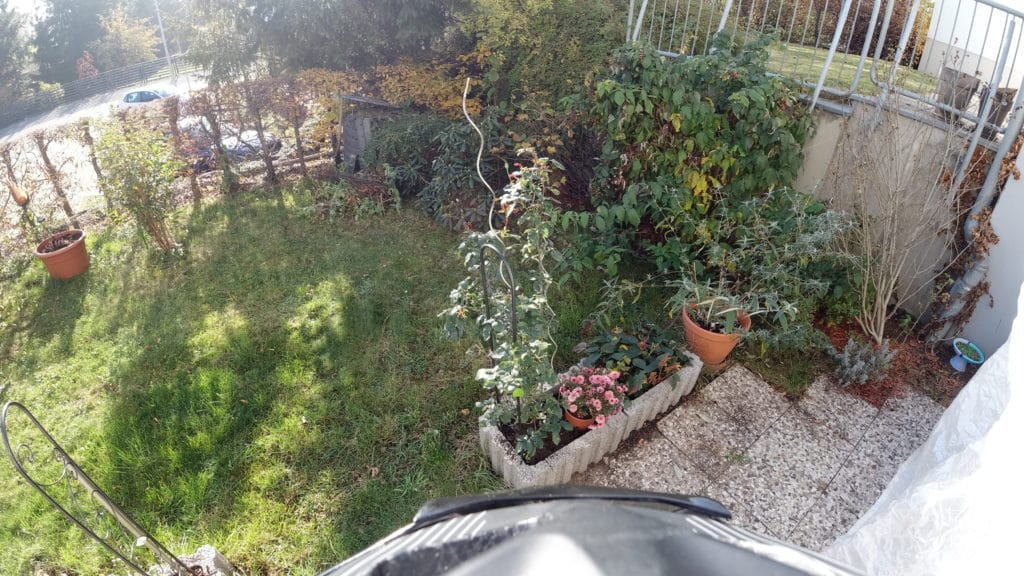
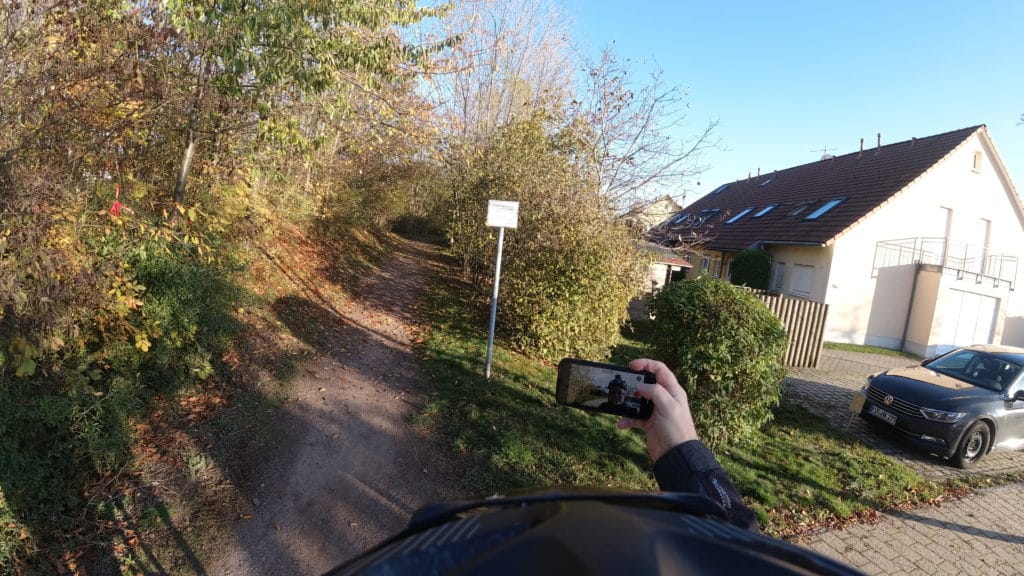
The photo quality is good and is absolutely fine. As you can see below, I took the photos in beautiful weather with blue skies. In the photo settings I had set the max. possible setting of 12MP selected and everything else on automatic. The sharpness of the image and the color reproduction is perfectly fine and also corresponds to the lighting mood.
In the settings you can choose to save the photos either in JPG format only or in JPG + RAW format. Due to the uncompressed RAW format you have of course much more possibilities to edit the photos afterwards.
Video quality test
To test the video quality I mounted the DJI Osmo Action on my bike helmet. For helmet attachment, I had bought a GoPro strap mount* for vented helmets a while back. The adhesive mounts included with the camera wouldn’t have fit on my helmet anyway.
For the first video, I set the camera to HD resolution at 60fps. For most needs, this setting will be sufficient. As you can see in the video, the color reproduction is very natural and also image sharpness is very good. The RockSteady image stabilization also works very well. You do not see any jerking or the like.
I shot the second video with the 4K/60fps setting. With the setting, the image stabilization also still works. The result looks very good and also the colors look very natural. However, you can only really see the difference on a corresponding TV with 4K resolution. The video looks really good then.
But as I wrote in this post, you should think about where you want to watch it later before recording the video. If you want to post the video clip later anyway only on Instagram, for example, then an HD resolution is also sufficient.
Die obigen Videos werden über einen speziellen Server mit der originalen Videodatei ohne zusätzliche serverseitige Komprimierung gestreamt. Es entspricht dem Ergebnis, dass ihr mit der originalen Videodatei sehen würdet. Bei 4K Inhalten kann es ein paar Sekunden dauern bis das Video startet, da der Player Daten puffert. Es kann auch gerade am Anfang noch etwas ruckeln. Alternativ könnt ihr die Datei auch über das drei Punkte Menü im Player downloaden.
Battery life
The battery life can be described as very good with over an hour in HD recording mode (60fps). In 4K mode, the runtime decreases to about 40min. With the included battery, you can get off to a good start. But for longer video sessions, you should get one or two spare batteries. You can get an original DJI Battery* for around 20€. But there are also compatible batteries* where you get a charger in addition to two batteries.
Conclusion
The DJI Osmo Action* is more than accomplished as DJI’s quasi-first action cam. With the second screen, it has an additional feature to offer compared to, for example, the current GoPro 8 black. I find the photo and video quality good to very good. Especially the image stabilization convinced me.
I particularly liked the software app. DJI has really come forward here, it all works very smoothly. Due to the 5Ghz WLAN, there is no delay in the live image on the smartphone, which I find really great. Due to the 5Ghz WLAN, the data transfer to the smartphone is also very fast. Of course, provided that the smartphone also supports this WLAN frequency. It wasn’t a problem with my iPhone 11, for example. Please note my WLAN tip above!
My conclusion is, buy when there is a good deal. The DJI Osmo Action is an all-around great action cam and more than a match for the GoPro 7 or 8 black.
Letzte Aktualisierung am 2026-02-17 / Affiliate Links / Bilder von der Amazon Product Advertising API
